
HOW TO ADD INSULATION TO AN EXISTING RENTAL PROPERTY
Seasons change. Every year, we see winter give way to spring, spring to summer, summer to fall, and back again to winter. These transitions in weather are normal and expected. What may not be expected is the way they affect the structures of a home.

Every season poses unique challenges to the materials of a home. In some seasons, they absorb moisture from the air and expand. Other times, as temperatures rise and relative humidity falls, the home’s components release their moisture and shrink. This stresses the features of the building and leads to cracks and gaps in the structures. Such openings allow the conditioned air inside the home to escape. Without the ability to regulate air exchange with the outside, the home’s energy efficiency plummets, warns Bighorn Rentals.
If you have noticed that the air seal in your rental is not performing to expectations, you may be thinking of adding insulation to it. Given all of the things you have to deal with, as a landlord, how can you do this without spending a lot of money or disrupting your tenants’ lives?
How to add insulation to an existing rental property
Adding insulation to a home is not disruptive if you know where to look and what to do. The areas of the home where air leaks are most likely to occur are the same for most buildings. Differences between one home and another may be due to the home’s age and energy-efficiency of the home’s design.
Below is a list of the common areas where you will find air leaks in the exterior and interior of a rental property, along with the steps you can take to solve the problem. Most of these involve minor work to improve the air sealing in and around the home.
Exterior areas
- Exterior doors
All doors (and door panels) that lead to the outside of the home should be weatherproofed by caulking and sealing them all around.
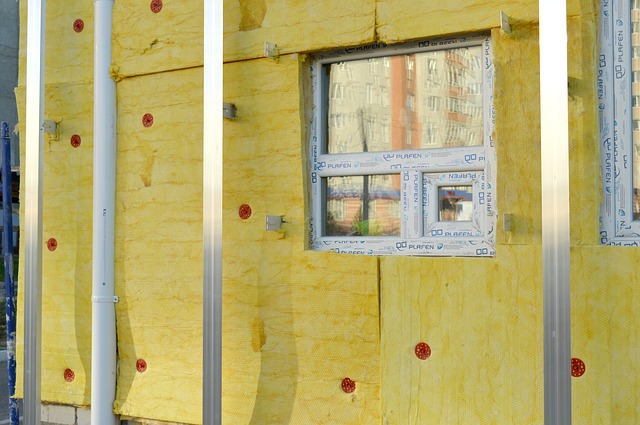
- Windows
Single-pane windows will usually need to be replaced by more energy efficient double-pane windows. Apply low expanding foam insulation around all window frames when replacing them. Also, caulk windows at their frame and where they meet the drywall.
- Wall penetrations
This refers to those points where pipes, vents, exhausts, and other parts enter the walls of the building. These should be caulked around their perimeter.
- Trim and siding
Caulk around the external trim and at trim-siding intersections.
Interior areas
- Doors
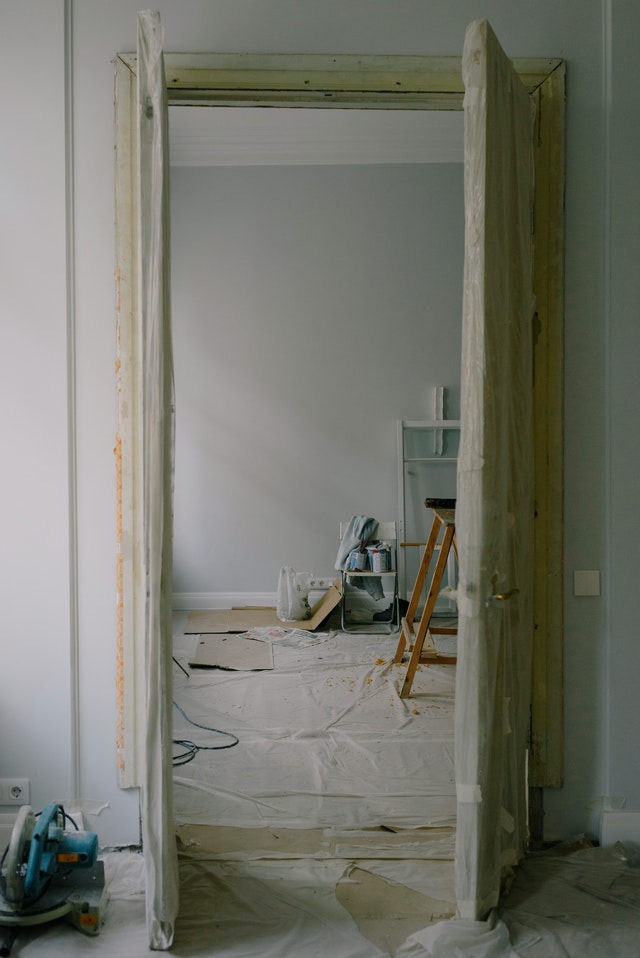
Just as with the exterior doors, internal doors should be caulked around their frame and at the intersection with the drywall or trim. Doors may also require weather stripping.
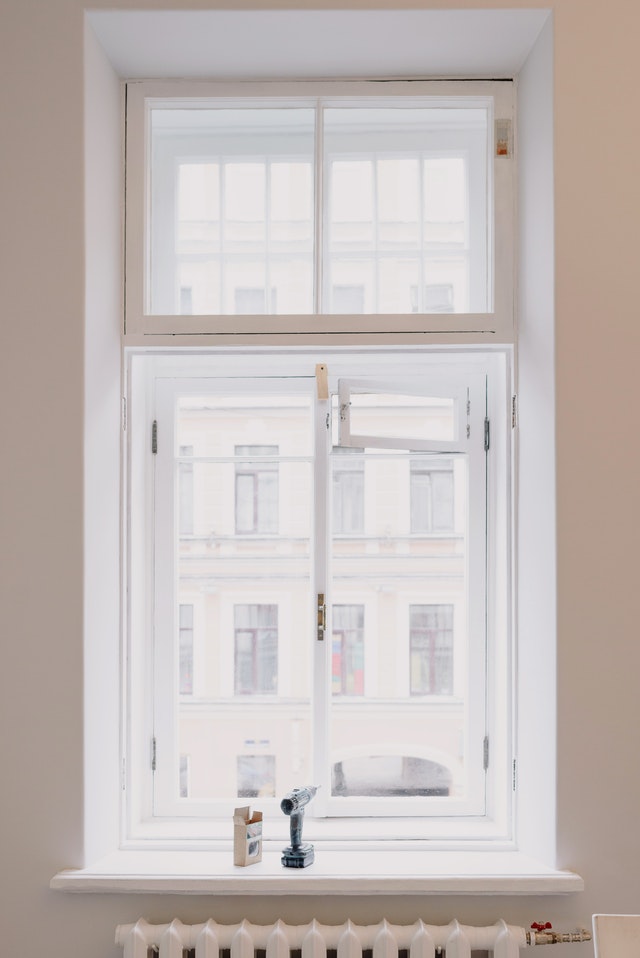
- Windows
To seal cracks and gaps around the window, apply caulk. For windows in rooms with high moisture exposure, such as the bathroom, use waterproof materials.
- Ductwork and pipes
Here, you should again pay attention to wall penetrations. To minimize energy exchange, wrap hot/cold water pipes with insulation and tape all joints and seams.
- Power outlets and light switches
There are many of these in the home and if each one lets in even a small amount of air, the cumulative effect on the home’s internal climate could be significant. To seal outlets and switches use spray foam and caulking.
- Flooring
Around 10% of the heat loss in a home happens through the floors (mainly on the ground floor). The steps you take here will depend on the type of flooring in the rental. The most effective method is to hire a professional to add subfloor insulation via the crawlspace or basement.
- Basements and crawlspace
Improving energy efficiency in this area can require more work, but the savings are well worth it in the long term. Things to do here include sealing the ductwork, insulating hot water pipes, sealing gaps and cracks in basement walls, as well as insulating the walls and ceiling. What you do will also depend on whether you have a finished or unfinished basement or an enclosed crawlspace.
Conduct a home energy audit
If your rental is experiencing massive energy losses, you may need to do a home energy audit to get to the root of the problem and find a lasting solution. This is particularly recommended if you have an older home or if you did not get the full information on the home’s insulation from its previous owner.
The home energy audit should always be done by a qualified industry professional. Here is what you can expect:
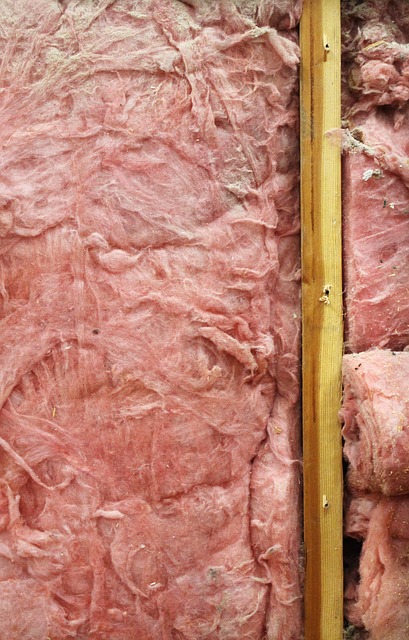
- Step one: Check the home’s level of insulation
Assessing the insulation to know where the home is properly insulated and where it is not.
- Step two: Type of insulation in the home
Inspecting and measuring the thickness of any insulation in/around perimeter walls, basement ceilings/walls, attic, outside the basement or foundation walls, floors, and ceilings.
- Step three: Determine R-values
This is a measure of how well the existing insulation resists the flow of heat.
- Step four: Decide the additional insulation needed
Finally, the inspector will make recommendations on where you need to add insulation and what kind of insulation to add.